千牛开放平台2.0
创建QAP工程
语法: qap create [projec name]:
qap create AwesomeProject
该命令会在当前目录下创建最简单的示例工程,该工程目录结构如下:
AwesomeProject/
    ├── gulpfile.js
    ├── webpack.config.js
    ├── qap.json
    ├── package.json
    └── src
         └── index.jsx
由于qap-cli使用了自动化构建工具gulp来管理调试和打包等任务,因此需要qap工程下带有gulpfile.js配置文件。
qap-cli使用webpack作为调试服务器,提供源码调试等功能,需要qap工程下带有webpack.config.js配置文件。
qap.json是QAP的配置文件,该文件最重要的部分是H5或者JSX页面的声明,查看qap.json配置文件。
{
  "appKey": "2345",
  "version": "1.0",
  "pages": [
    {
      "default": true,
      "capability": "itemChoose",
      "url": "qap:///index.js"
    }
  ],
  "iconfonts": [
    {
      "localpath": "font_1474198576_7440977.ttf",
      "url": "http://at.alicdn.com/t/font_1474198576_7440977.ttf"
    }
  ],
  "WebRootPath": "http://path/to/callback/url",
  "min_qn_android": "5.8.2",
  "min_qn_ios": "5.8.2",
  "jssdk": "1.0.10"
}
src目录放置源代码,源代码一般以.js或者.jsx结尾。简单的index.jsx内容如下:
'use strict';

import {createElement, Component, render} from 'rax';
import {View, Text, Modal} from 'nuke';
import QN from 'QAP-SDK';

class Demo extends Component {
    constructor(props) {
      super(props);

      this.state = {};
    }
    render() {
        return (
            <View style={styles.container}>
                <Text style={styles.welcome}>
                    欢迎使用千牛!
                </Text>
                <Text style={styles.instructions}>
                    编辑src/index.jsx文件,开始QAP之旅,
                </Text>
                <Text style={styles.instructions}>
                    点击手机千牛右上角刷新,
                </Text>
                <Text style={styles.instructions}>
                    或者刷新浏览器立即查看效果
                </Text>
            </View>
        );
    }
}

const styles = {
    container: {
        flex: 1,
        justifyContent: 'center',
        alignItems: 'center',
        backgroundColor: '#F5FCFF',
    },
    welcome: {
        fontSize: 20,
        textAlign: 'center',
        margin: 10,
    },
    instructions: {
        textAlign: 'center',
        color: '#333333',
        marginBottom: 5,
    },
};

render(<Demo />);

export default Demo;
安装依赖
新建的工程首次运行前,需要安装项目依赖。
cnpm install
运行程序
创建完一个QAP应用,我们可以在手机千牛上运行查看效果。
1. 启动开发服务器
在QAP应用的根目录(Manifest.xml所在目录)下运行如下命令:
语法:qap debug
qap debug
该命令会在本机启动调试服务、打开浏览器显示调试二维码。显示调试的二维码的url一般为http://30.9.112.23:8088/?debug=qap…。为了查看运行效果,开发者需要安装移动端千牛:Android千牛或iOS千牛。
2. 扫码运行
打开千牛,点击扫一扫,扫描浏览器中的二维码,会出现已连接的手机,如下图所示:
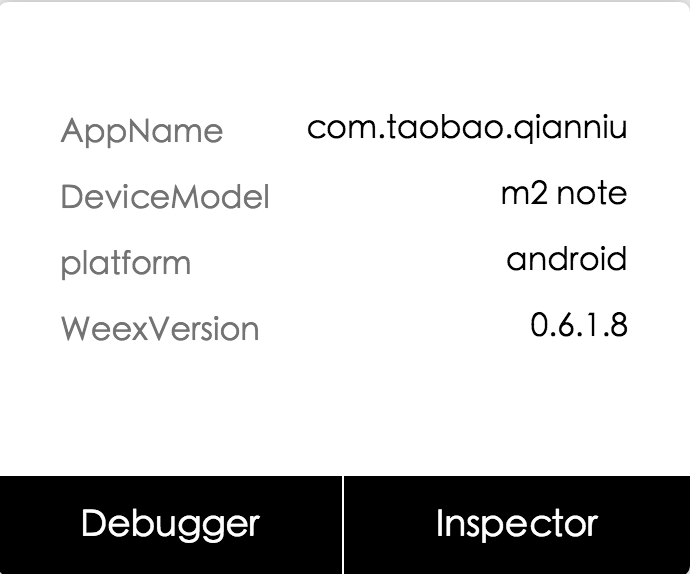
点击Debugger,手机端开始加载qap工程,最终效果如下图所示:

更多调试功能,[请点击]。